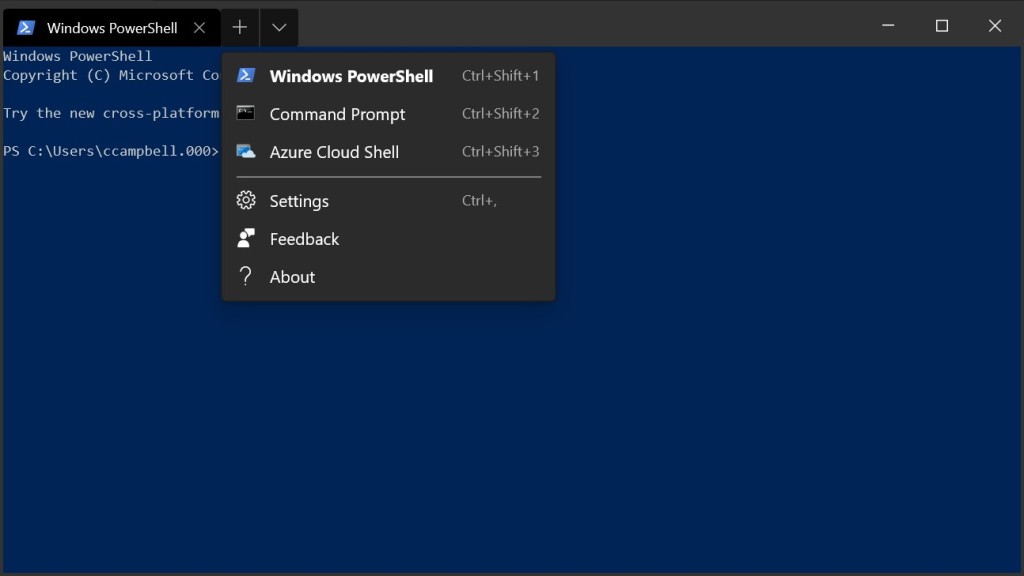
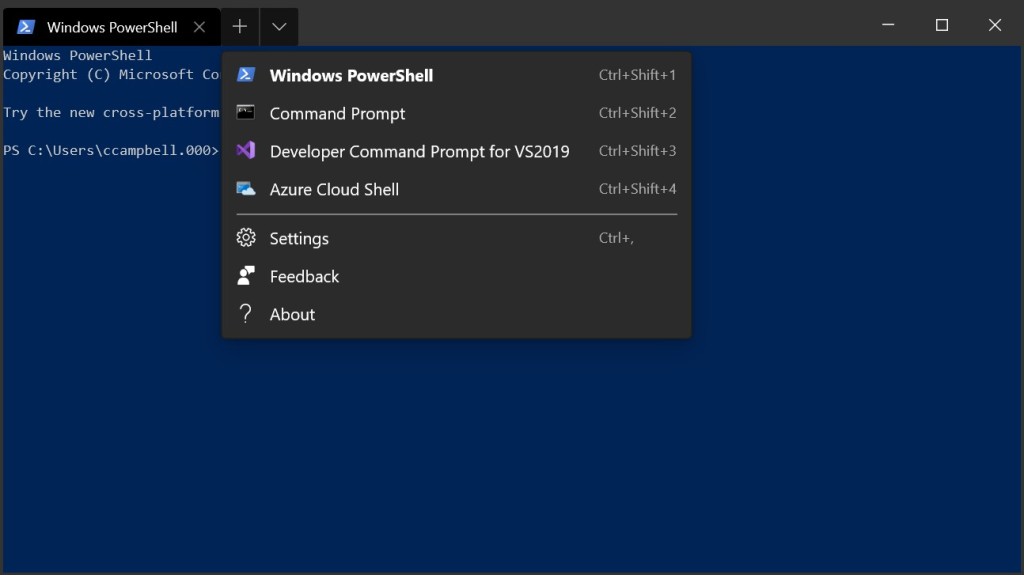
The Windows Terminal was announced at Build 2019 and is open source and free. In this article I’ll show you how to add a new shell profile for the Developer Command Prompt for VS2019.
Getting Windows Terminal
Windows Terminal requires Windows 10 1903. You can get the Windows Terminal for free from the Store. For users who are unable to download from the Store, Windows Terminal builds can manually be downloaded from the repositories Release page.
JSON Syntax
The Windows Terminal settings is stored in a “Profiles.json” file. You can access this file from the Settings menu located in the dropdown menu to the right of the add new shell button as shown below.

Alternatively this file is located in the following path:
%USERPROFILE%\AppData\Local\Packages\Microsoft.WindowsTerminal_8wekyb3d8bbwe\LocalState
Editing the Profiles.json file is easy, but if your unfamiliar with the JSON syntax then there are few things you need to know.
- Do not use backslash (\) in file paths. These should be replaced with a forward slash (/).
- Always close files paths in double quotes.
- All lines must end in a comma except for the last line in a section or block.
Adding the Develper Command Prompt Profile
This section assumes that you have Visual Studio 2019 installed and have access to the Developer Command Prompt for VS 2019.
{
    "acrylicOpacity": 0.75,
    "closeOnExit": true,
    "colorScheme": "Campbell",
    "commandline": "cmd.exe /k \"C://Program Files (x86)//Microsoft Visual Studio//2019//Enterprise//Common7//Tools//VsDevCmd.bat\"",
    "cursorColor": "#FFFFFF",
    "cursorShape": "bar",
    "fontFace": "Consolas",
    "fontSize": 10,
    "guid": "{26b30263-74e9-4146-b80e-11632e86d42c}",
    "historySize": 9001,
    "icon": "ms-appdata:///roaming/vs2019-32.png",
    "name": "Developer Command Prompt for VS2019",
    "padding": "0, 0, 0, 0",
    "snapOnInput": true,
    "startingDirectory": "%USERPROFILE%",
    "useAcrylic": true
},
A couple things to note about the above profile that you might need to change based on your local system.
- For the “commandline” line, you will want to change “Enterprise” to the Visual Studio 2019 SKU you have, like “Professional” or “Community”.
- For the “icon” line, I downloaded a VS 2019 icon from https://visualstudio.microsoft.com/vs/ and resized it to 32×32 and saved it in my RoamingState folder %USERPROFILE%\AppData\Local\Packages\Microsoft.WindowsTerminal_8wekyb3d8bbwe\RoamingState
- For the “guid” line, you need to generate a new GUID and enter it in here.
Once you’ve saved these changes restart the Windows Terminal app and your new Developer Command Prompt for VS 2019 will be listed.

There are a number of other consoles you can add like “Python”, “Linux Bash”, “PowerShell Core, “Ubuntu”, and many more.
Enjoy!
References
Download Windows Terminal from the Store
Windows Terminal Documentation
A new Console for Windows – It’s the open source Windows Terminal
NIce.